Kubernetes | Accessing the Kubernetes Dashboard and Creating an Admin Service Account
Note I highlighted screenshots with a yellow color to focus on some important informations. You can download the yaml files from GitHub
The Kubernetes Dashboard is a web-based UI that allows you to manage your Kubernetes clusters. Below are the steps to access the Kubernetes Dashboard and create an admin service account.
Step 1: Deploy the Kubernetes Dashboard
To install the Kubernetes Dashboard, run the following command in your terminal. This command will apply the recommended YAML configuration file, which sets up the dashboard along with its dependencies:
1
kubectl apply -f https://raw.githubusercontent.com/kubernetes/dashboard/v2.7.0/aio/deploy/recommended.yaml

This command downloads the necessary YAML configuration from the specified URL and deploys it to your cluster.
Step 2: Check the Deployment Status
After deploying, ensure that the dashboard components are running correctly. You can check the status by executing:
1
kubectl get pods -n kubernetes-dashboard
Look for the kubernetes-dashboard pod in the output. It should be in the Running state.
Step 3: Create an Admin Service Account
To access the dashboard, you’ll need an admin service account. You can create one by defining a YAML file. Here’s an example of what the YAML configuration might look like:
1
2
3
4
5
6
7
8
9
10
11
12
13
14
15
16
17
18
apiVersion: v1
kind: ServiceAccount
metadata:
  name: admin-user
  namespace: kubernetes-dashboard
---
apiVersion: rbac.authorization.k8s.io/v1
kind: ClusterRoleBinding
metadata:
  name: admin-user
roleRef:
  apiGroup: rbac.authorization.k8s.io
  kind: ClusterRole
  name: cluster-admin
subjects:
- kind: ServiceAccount
  name: admin-user
  namespace: kubernetes-dashboard
- Save this configuration to a file named
dashboard-adminuser.yaml. - Apply the configuration using the following command:
1
kubectl apply -f dashboard-adminuser.yaml
Step 4: Generate a Bearer Token
After creating the admin service account, you need to generate a token to access the dashboard. Execute the following command to create the token:
1
kubectl -n kubernetes-dashboard create token admin-user

This command will output a token that you will use to log in to the Kubernetes Dashboard.
Step 5: Access the Dashboard
You can access the dashboard via a proxy. Run the following command:
1
kubectl proxy

Once the proxy is running, you can access the dashboard at:
1
http://localhost:8001/api/v1/namespaces/kubernetes-dashboard/services/https:kubernetes-dashboard:/proxy/
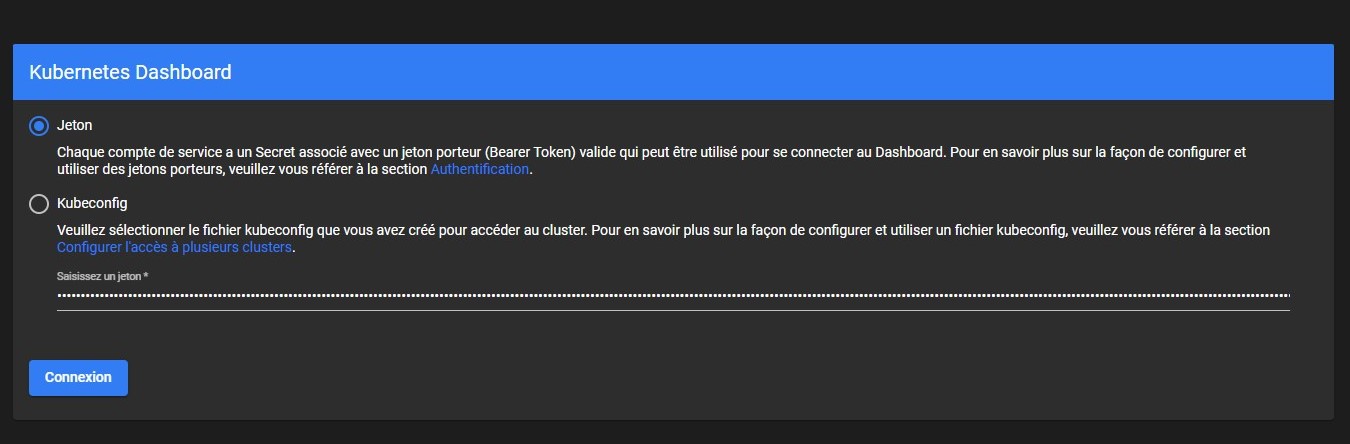
Step 6: Log In
When prompted to log in to the Kubernetes Dashboard, select the option to log in with a token and paste the token you generated in Step 4.
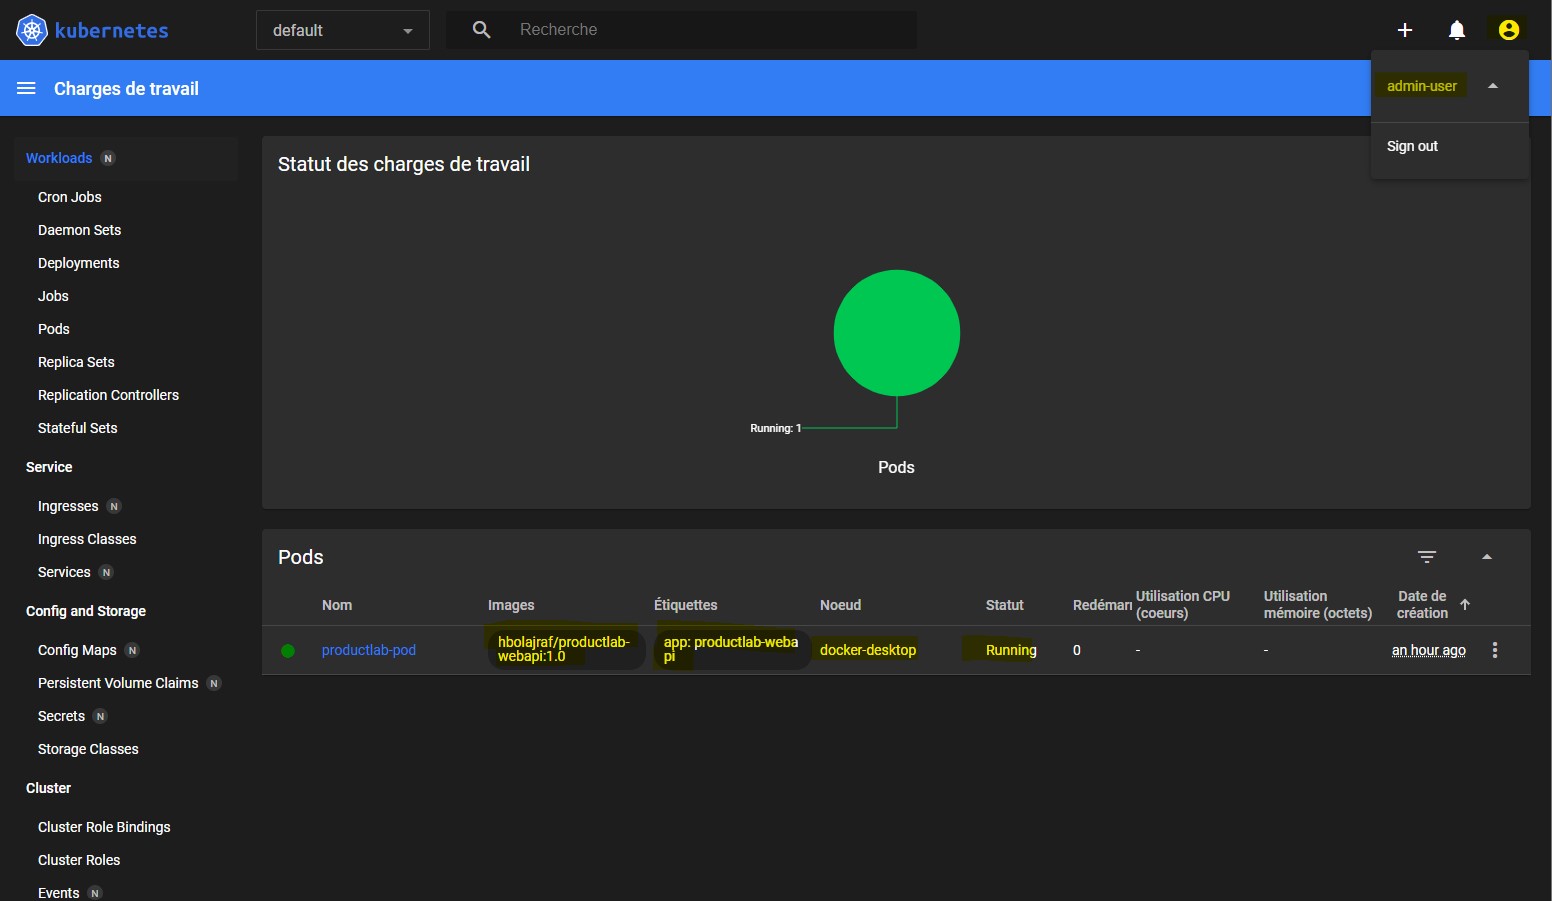
What Next?
By following these steps, you can successfully deploy the Kubernetes Dashboard and create an admin service account for accessing the UI. Enjoy managing your Kubernetes cluster with ease ;)