Azure | Real-Time Financial Transaction Monitoring in Banking Using Azure Event Hub
Note I highlighted screenshots with a yellow color to focus on some important informations. You can download the C# solution from GitHub
Scenario
In the banking sector, real-time monitoring of financial transactions is crucial for detecting fraudulent activities, ensuring compliance, and maintaining customer trust. Azure Event Hub is a highly scalable data streaming platform capable of ingesting millions of events per second, making it an ideal choice for building a robust real-time monitoring system. This post will describe the pub/sub architecture of Azure Event Hub and provide a detailed C# implementation example for deploying such a system.
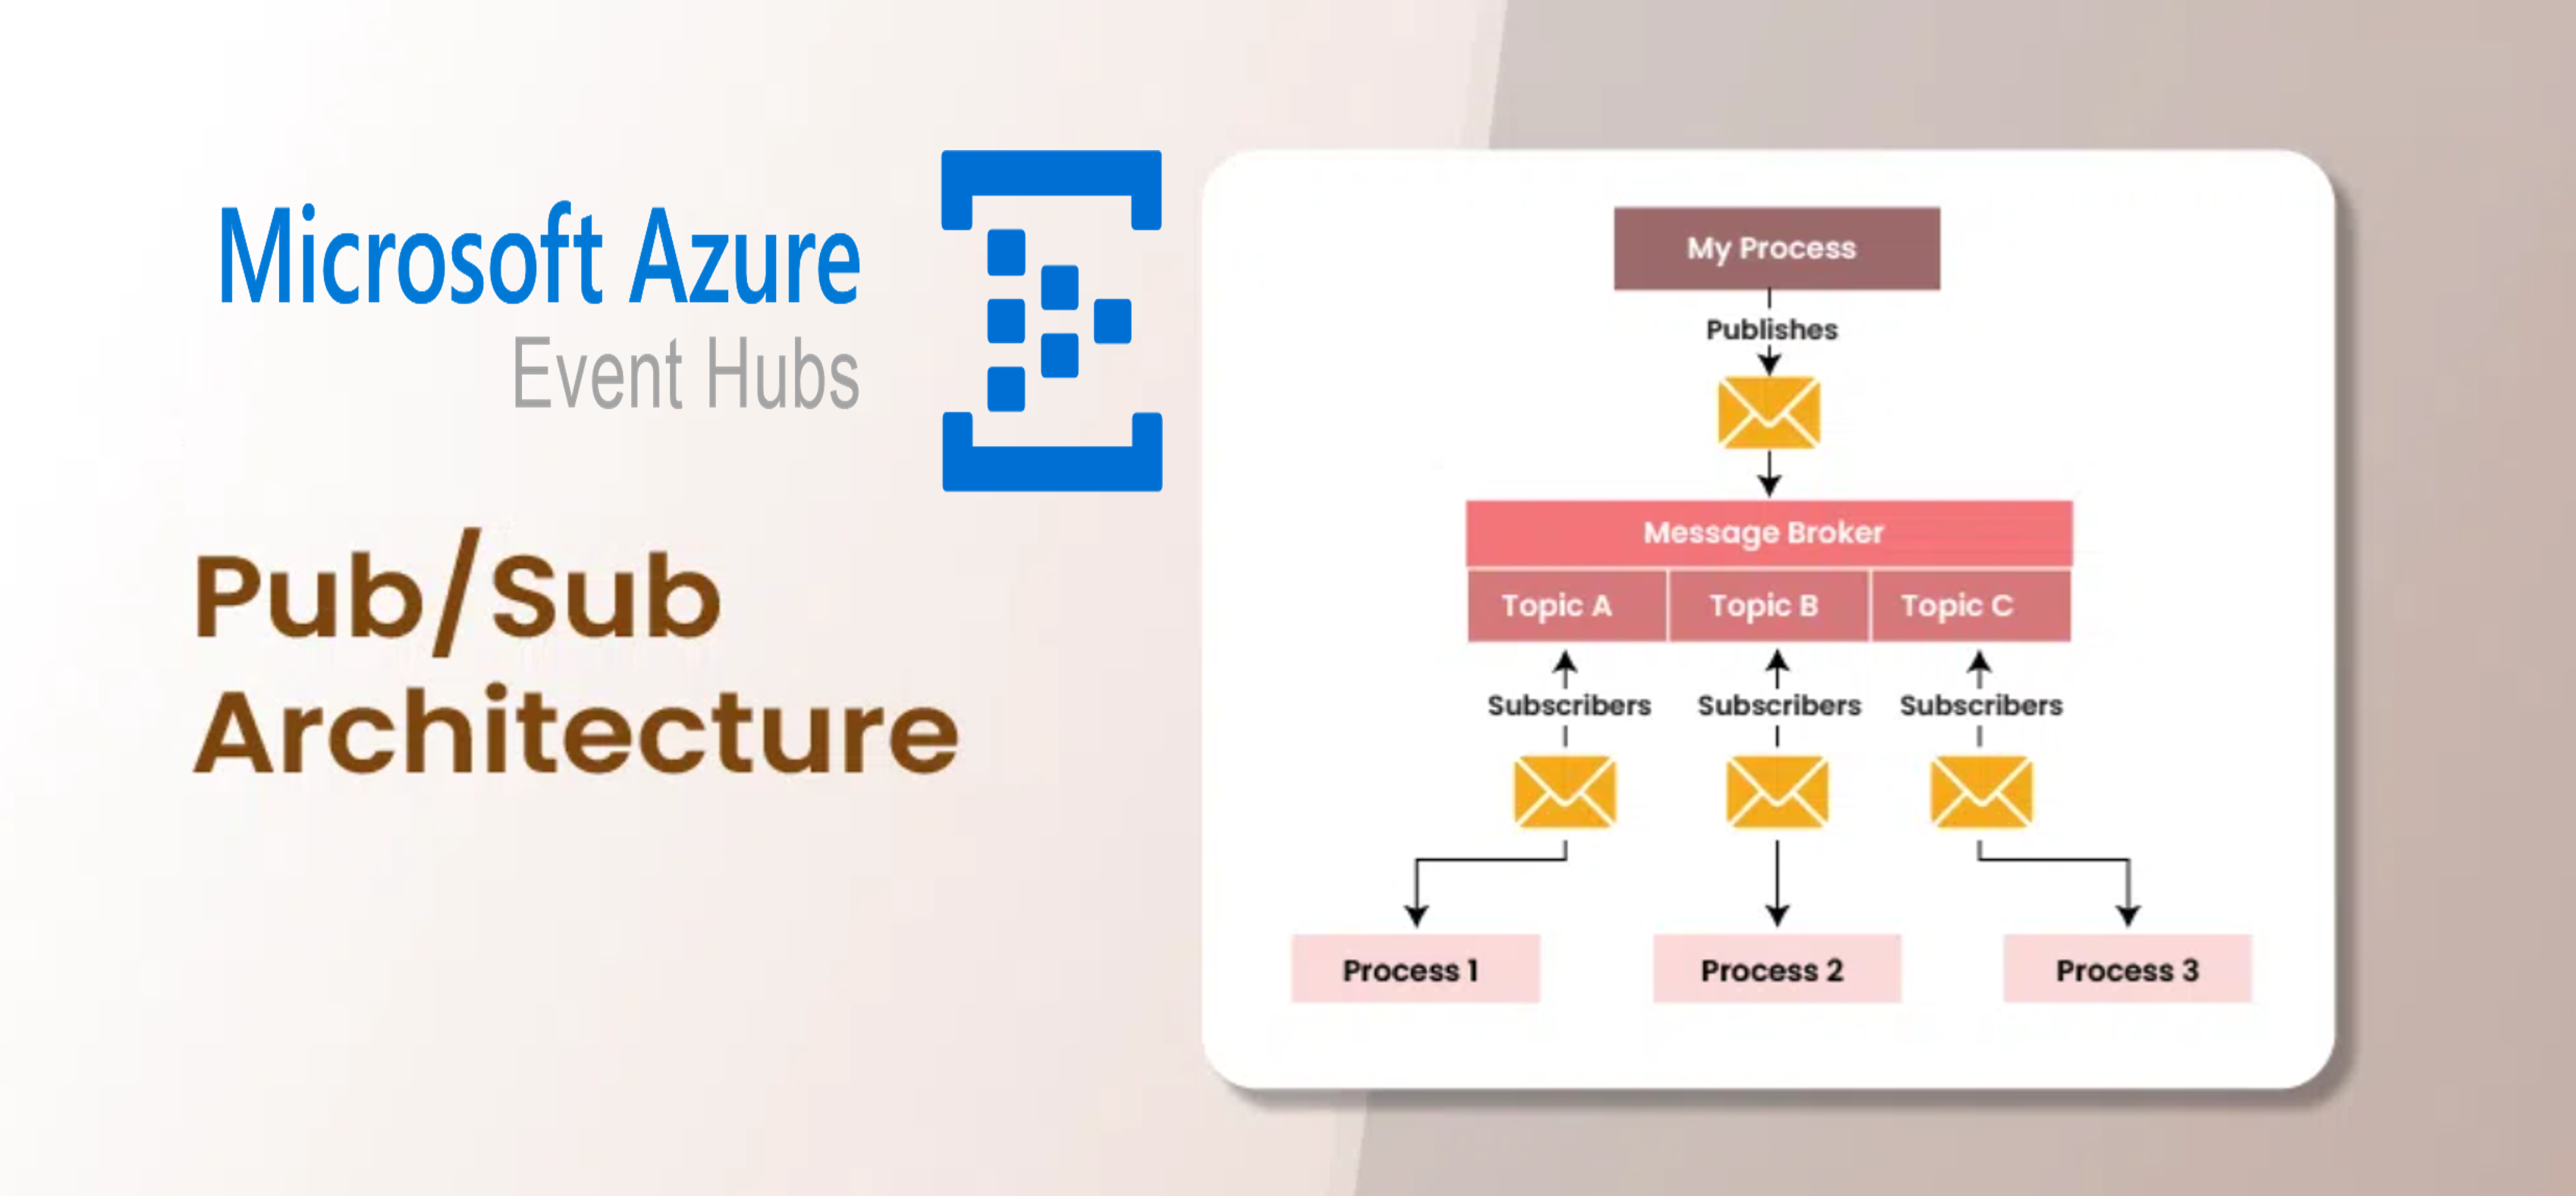
Azure Event Hub Pub/Sub Architecture
Azure Event Hub follows a publisher-subscriber (pub/sub) model, which is a messaging pattern where publishers send messages without knowing who the subscribers are. Here’s how it works:
-
Producers (Publishers): These are the sources that generate events. In the context of banking, producers could be various systems like ATMs, online banking platforms, or mobile apps that generate financial transaction events.
-
Event Hubs (Topics): This is the entry point in Azure for event streaming. Producers send events to Event Hubs.
-
Partitions: Event Hubs can be partitioned to allow multiple consumers to read from the hub simultaneously, enabling high-throughput processing.
-
Consumers (Subscribers): These are the applications or services that read and process the events. In this use case, the consumers could be services that analyze transactions for fraud detection, compliance checks, or logging.
-
Consumer Groups: These provide a view (state, position, or offset) of an entire Event Hub, allowing multiple consumers to have independent views of the event stream.
Create resources within Azure platform
Check the previous Post about creating Azure ressources under Terraform.
Important For further information on how we created the resources within Azure platform using Terraform, please refer to the following post : Terraform project for creating Azure Resources.
Implementation in C#
Below is a detailed C# example demonstrating how to implement and deploy a real-time financial transaction monitoring system using Azure Event Hub.
Prerequisites
- Azure account with Event Hub namespace and event hub created.
- Visual Studio or any C# IDE.
- .NET SDK installed.
Step-by-Step Implementation
1.Create the Visual Studio Console Apps
Create a New Project:
- Open Visual Studio.
- Go to File -> New -> Project….
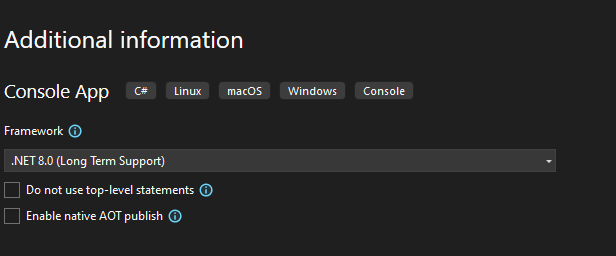
- Choose Console App (.NET 8) or other version depending on your preference or project requirements.
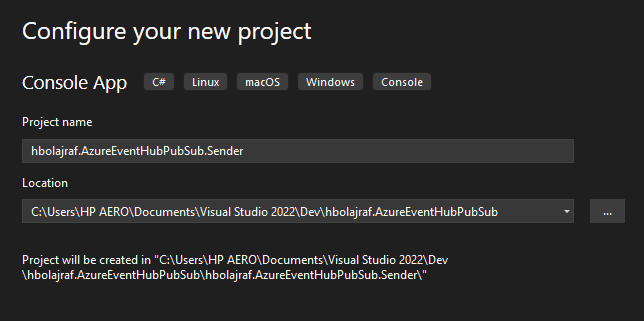
- Enter a name for your project (e.g., hbolajraf.AzureEventHubPubSub).
- Choose a location to save your project and click Create.
1.1.Create the Visual Studio Sender Console App
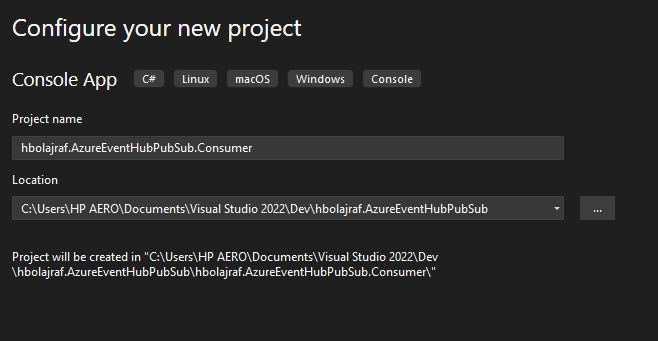
1.2.Create the Visual Studio Consumer Console App
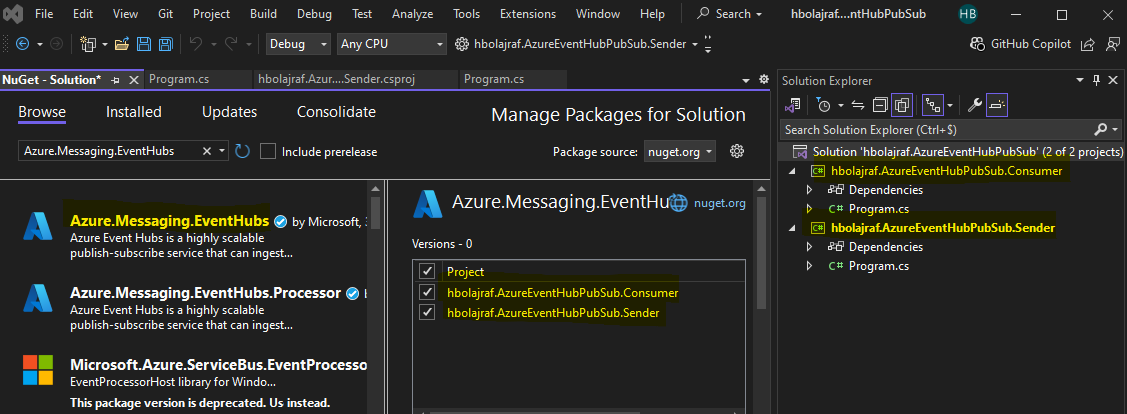
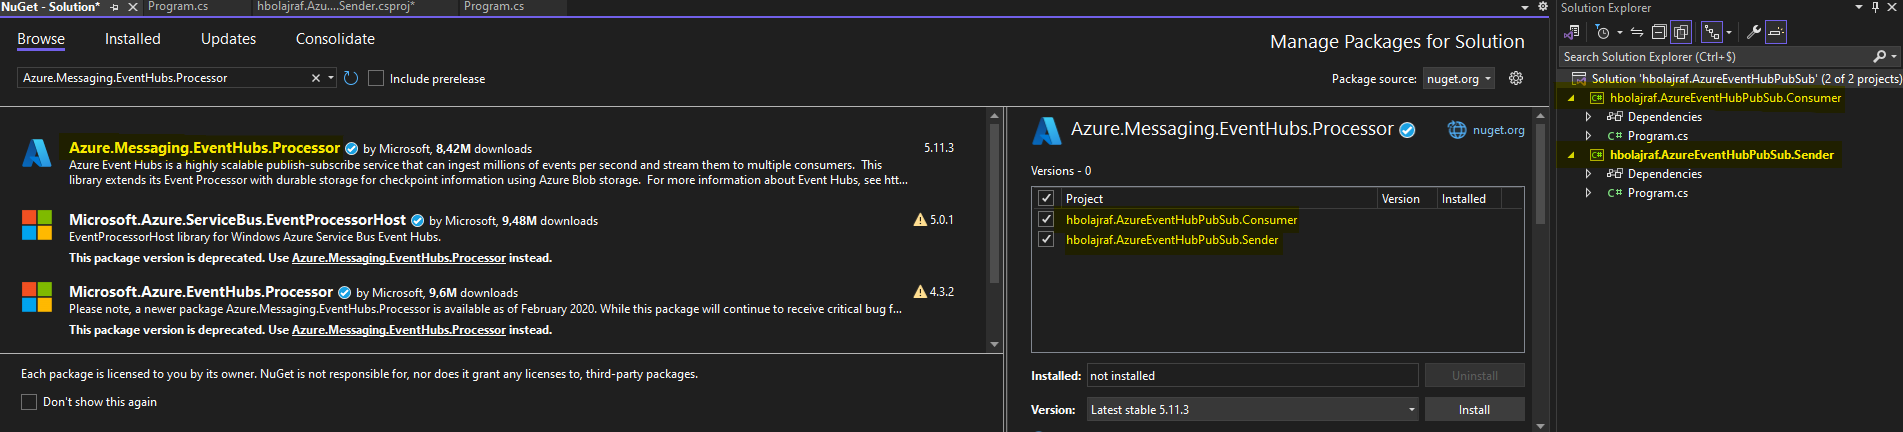
2.Install Necessary Packages
First, install the Azure.Messaging.EventHubs and Azure.Messaging.EventHubs.Processor NuGet packages.
1
dotnet add package Azure.Messaging.EventHubs
1
dotnet add package Azure.Messaging.EventHubs.Processor
3.Main Solution structure
The main solution will be presented as bellow:
1
2
3
4
5
6
7
8
	hbolajraf.AzureEventHubPubSub
		├───hbolajraf.AzureEventHubPubSub.sln
		│
		├───hbolajraf.AzureEventHubPubSub.Sender
		│   └───Program.cs
		│
		└───hbolajraf.AzureEventHubPubSub.Consumer
			└───Program.cs

4.Sender Side
4.1.Implementing Sending Events to Event Hub solution
Add the following C# code to the Sender Console App project in order to simulate sending financial transactions :
1
2
3
4
5
6
7
8
9
10
11
12
13
14
15
16
17
18
19
20
21
22
23
24
25
26
27
28
29
30
31
32
33
34
35
36
37
38
39
using Azure.Messaging.EventHubs;
using Azure.Messaging.EventHubs.Producer;
using System;
using System.Text;
using System.Threading.Tasks;

class Program
{
    private const string connectionString = "<Your Event Hub Connection String>";
    private const string eventHubName = "<Your Event Hub Name>";

    static async Task Main(string[] args)
    {
        await using (var producerClient = new EventHubProducerClient(connectionString, eventHubName))
        {
            using EventDataBatch eventBatch = await producerClient.CreateBatchAsync();

            for (int i = 0; i < 100; i++)
            {
                var transaction = new
                {
                    TransactionId = Guid.NewGuid(),
                    Amount = new Random().Next(1, 10000),
                    Timestamp = DateTime.UtcNow
                };

                var eventData = new EventData(Encoding.UTF8.GetBytes(System.Text.Json.JsonSerializer.Serialize(transaction)));

                if (!eventBatch.TryAdd(eventData))
                {
                    throw new Exception($"Event {i} is too large for the batch and cannot be sent.");
                }
            }

            await producerClient.SendAsync(eventBatch);
            Console.WriteLine("A batch of 100 events has been published.");
        }
    }
}
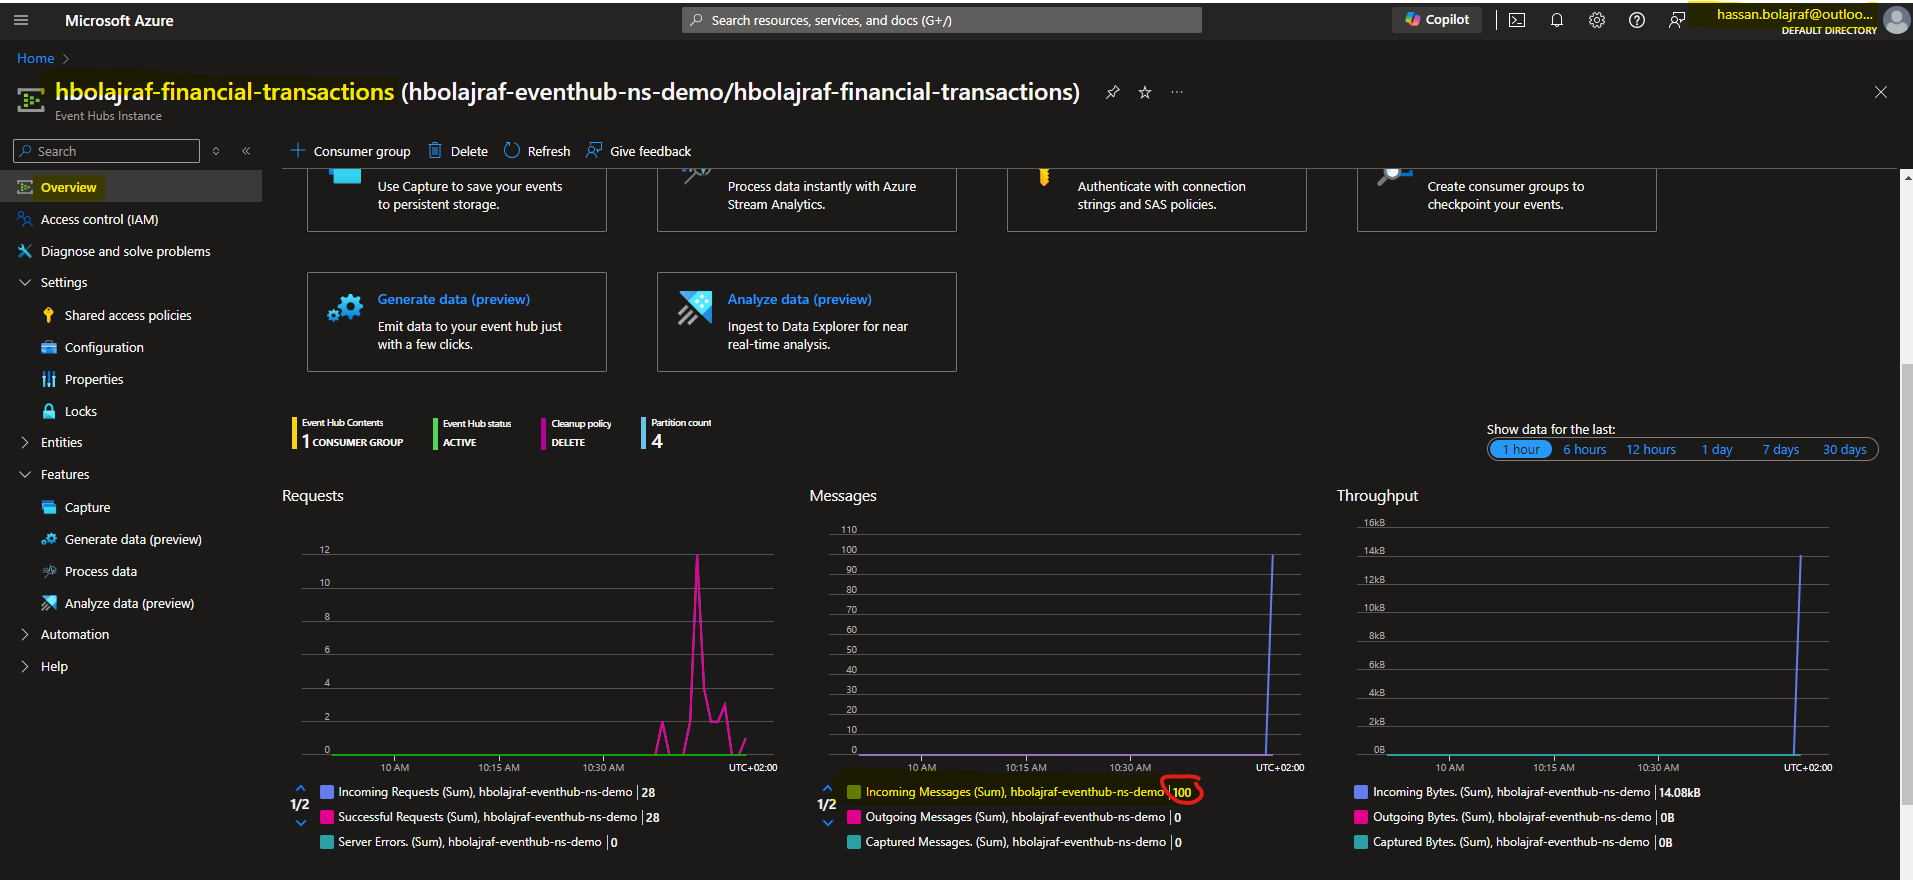
4.2.Launch the Sender App
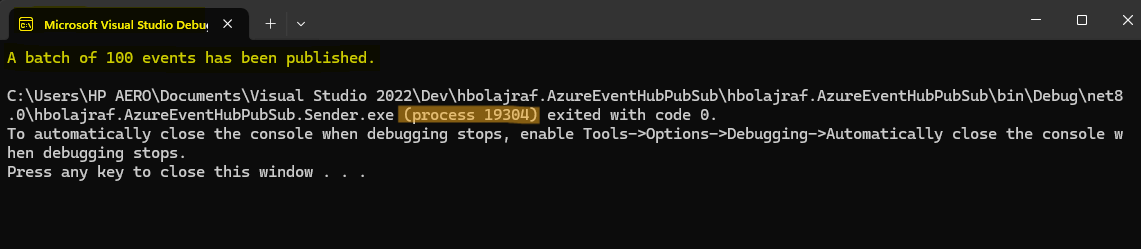
When we launch the Sender application, we will observe that over 100 events have been published to the Azure Event Hub instance, as illustrated in the screenshot below:
5.Consumer Side
5.1.Processing Events from Event Hub solution
Add the following C# code to the consumer Console App in order to read and process transactions :
1
2
3
4
5
6
7
8
9
10
11
12
13
14
15
16
17
18
19
20
21
22
23
24
25
26
27
28
29
30
31
32
33
34
35
36
37
38
39
40
41
42
43
44
45
46
47
using Azure.Messaging.EventHubs;
using Azure.Messaging.EventHubs.Consumer;
using Azure.Messaging.EventHubs.Processor;
using Azure.Storage.Blobs;
using System;
using System.Text;
using System.Threading.Tasks;

class Program
{
    private const string ehubNamespaceConnectionString = "<Your Event Hub Connection String>";
    private const string eventHubName = "<Your Event Hub Name>";
    private const string blobStorageConnectionString = "<Your Blob Storage Connection String>";
    private const string blobContainerName = "<Your Blob Container Name>";

    static async Task Main()
    {
        BlobContainerClient storageClient = new BlobContainerClient(blobStorageConnectionString, blobContainerName);
        EventProcessorClient processor = new EventProcessorClient(storageClient, EventHubConsumerClient.DefaultConsumerGroupName, ehubNamespaceConnectionString, eventHubName);

        processor.ProcessEventAsync += ProcessEventHandler;
        processor.ProcessErrorAsync += ProcessErrorHandler;

        await processor.StartProcessingAsync();

        Console.WriteLine("Press [enter] to stop the processor.");
        Console.ReadLine();

        await processor.StopProcessingAsync();
    }

    static async Task ProcessEventHandler(ProcessEventArgs eventArgs)
    {
        string eventData = Encoding.UTF8.GetString(eventArgs.Data.Body.ToArray());
        Console.WriteLine($"Received event: {eventData}");

        // Process transaction data (e.g., check for fraud)

        await eventArgs.UpdateCheckpointAsync(eventArgs.CancellationToken);
    }

    static Task ProcessErrorHandler(ProcessErrorEventArgs eventArgs)
    {
        Console.WriteLine($"Error on partition {eventArgs.PartitionId}: {eventArgs.Exception.Message}");
        return Task.CompletedTask;
    }
}
5.2.Launch the Consumer App
When we launch the Consumer Application, it will process events from an Azure Event Hub instance and retrieve the details of each event data as shown below:
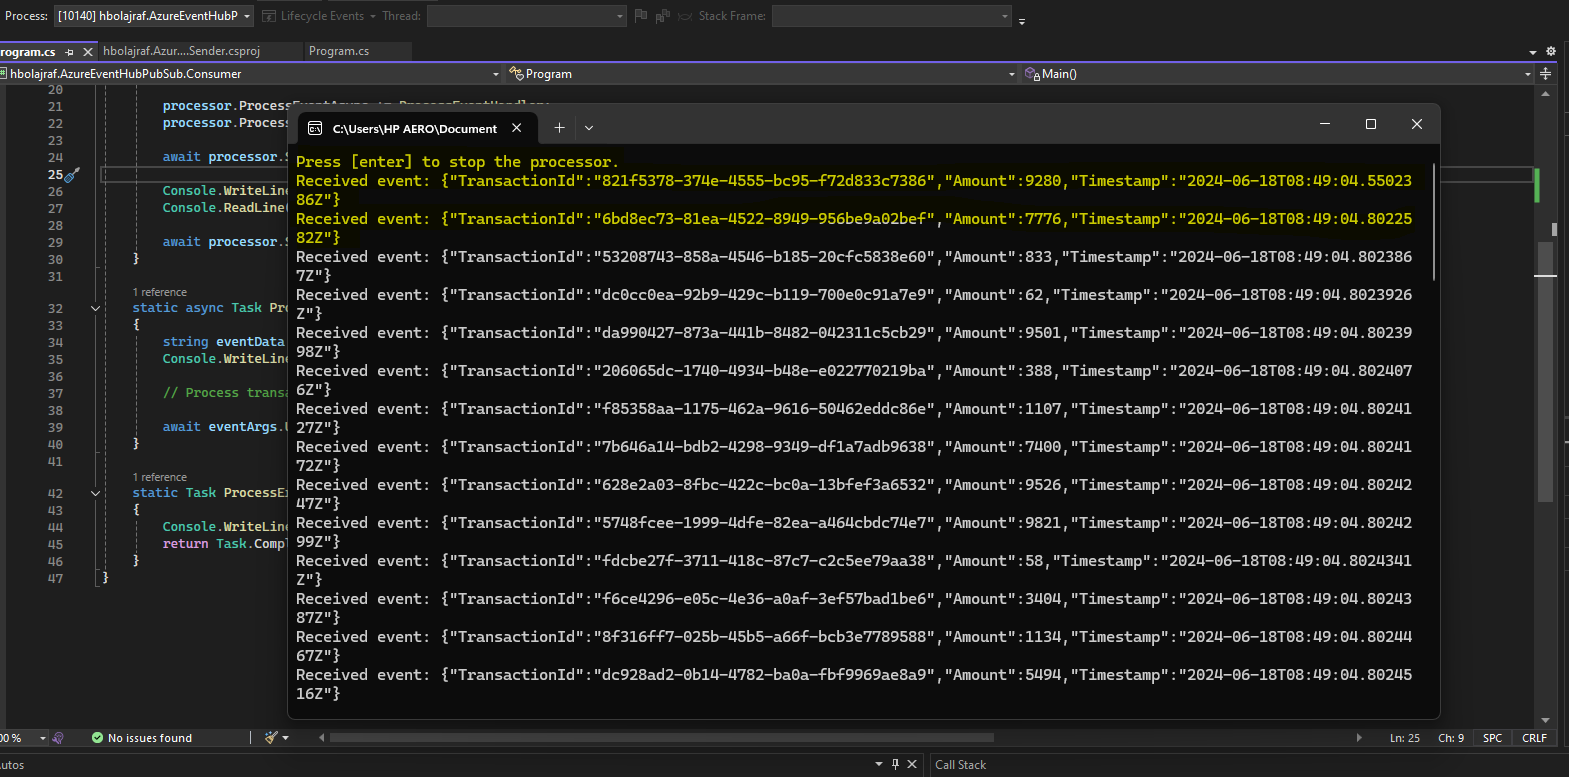
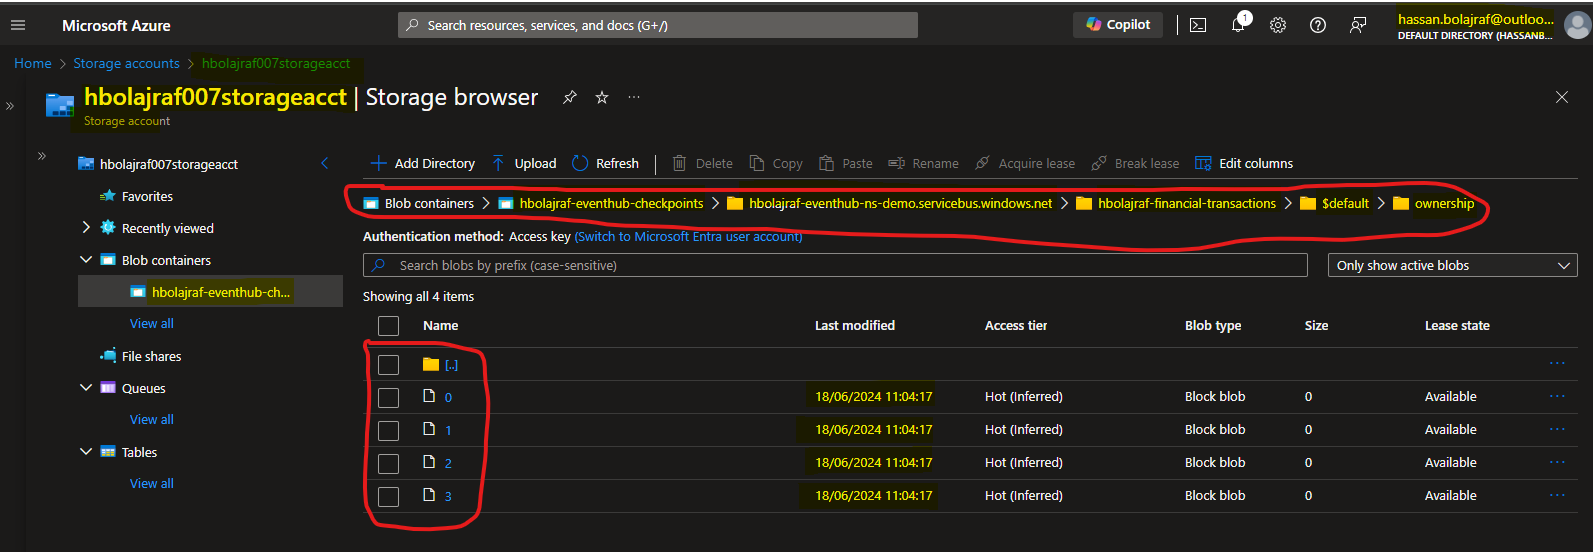
The implemented C# code initializes a client to connect to an Azure Event Hub and a Blob Storage container. It sets up handlers for processing events and managing errors. The event processor starts and listens for events from the Event Hub, prints the event data to the console, and updates the processing checkpoint in the Blob Storage. The checkpointing mechanism ensures that the event processor can resume from the correct position in case of a restart.
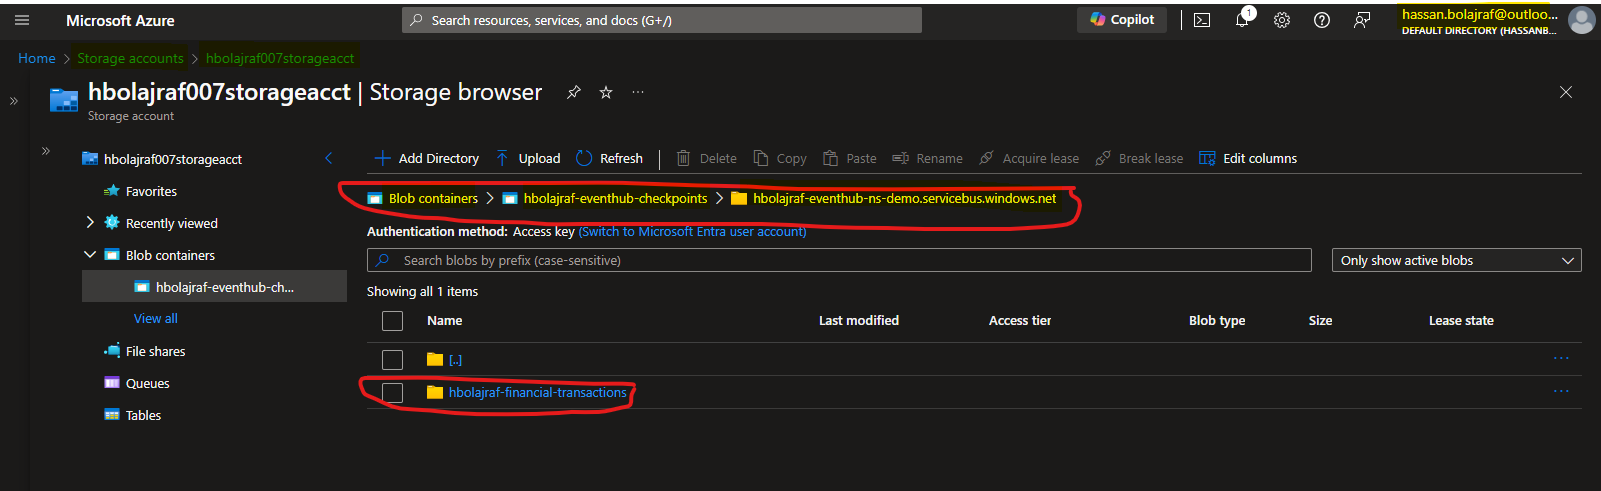
The Blob Storage container is specifically used to store these checkpoints, ensuring reliable event processing.
6.Configure the security settings for Event Hub and Storage Account
In the following configuration, we will outline how to obtain connection strings for both Event Hub and Storage Account. These connection strings are necessary to connect to each service and launch our project as previously described.
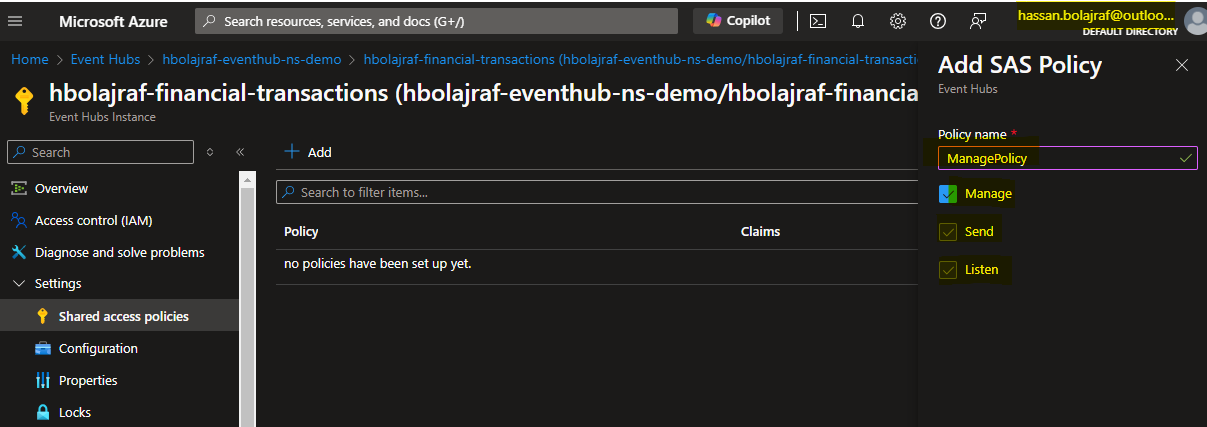
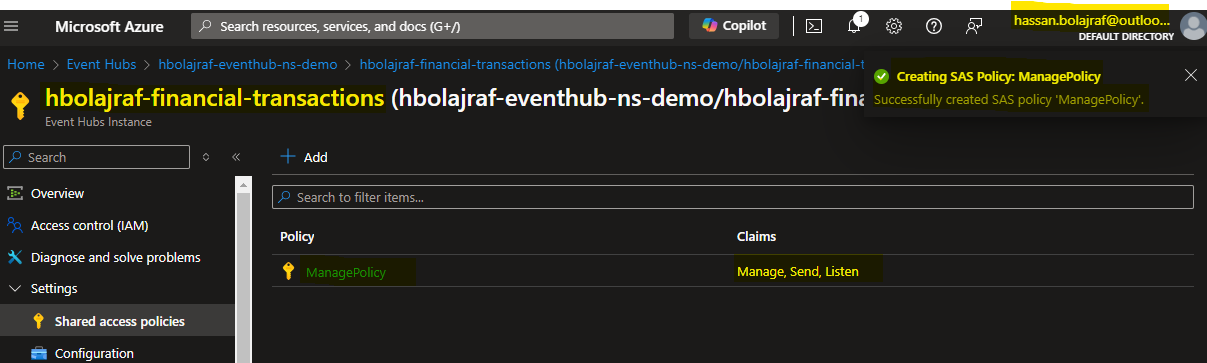
6.1.Create Shared access policies for Event Hub
To create a Shared Access Policy, follow these steps:
- Navigate to your Event Hub namespace in the Azure portal.
- Select
Shared access policiesunder theSettingssection. - Click on
Add. - Provide a name for the policy.
- Select the permissions you want to grant:
- Manage: Grants full access, including send, listen, and manage rights.
- Send: Grants permission to send messages.
- Listen: Grants permission to read messages.
- Click
Createas described in the screenshot bellow.
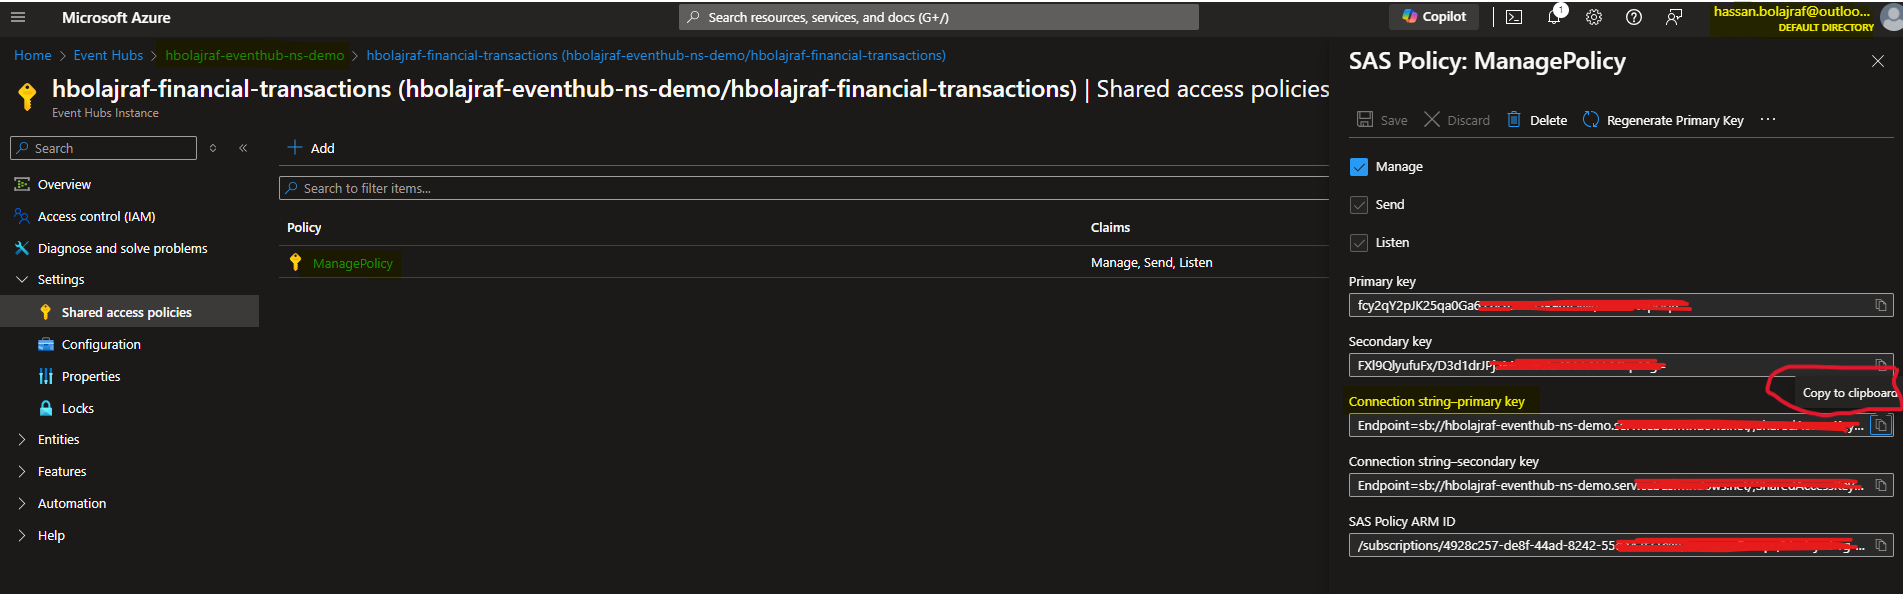
Once saved, you will see all policies listed with their permissions.
After that, you can select the policy in question and copy the string-primary key that you will use within your C# projects.
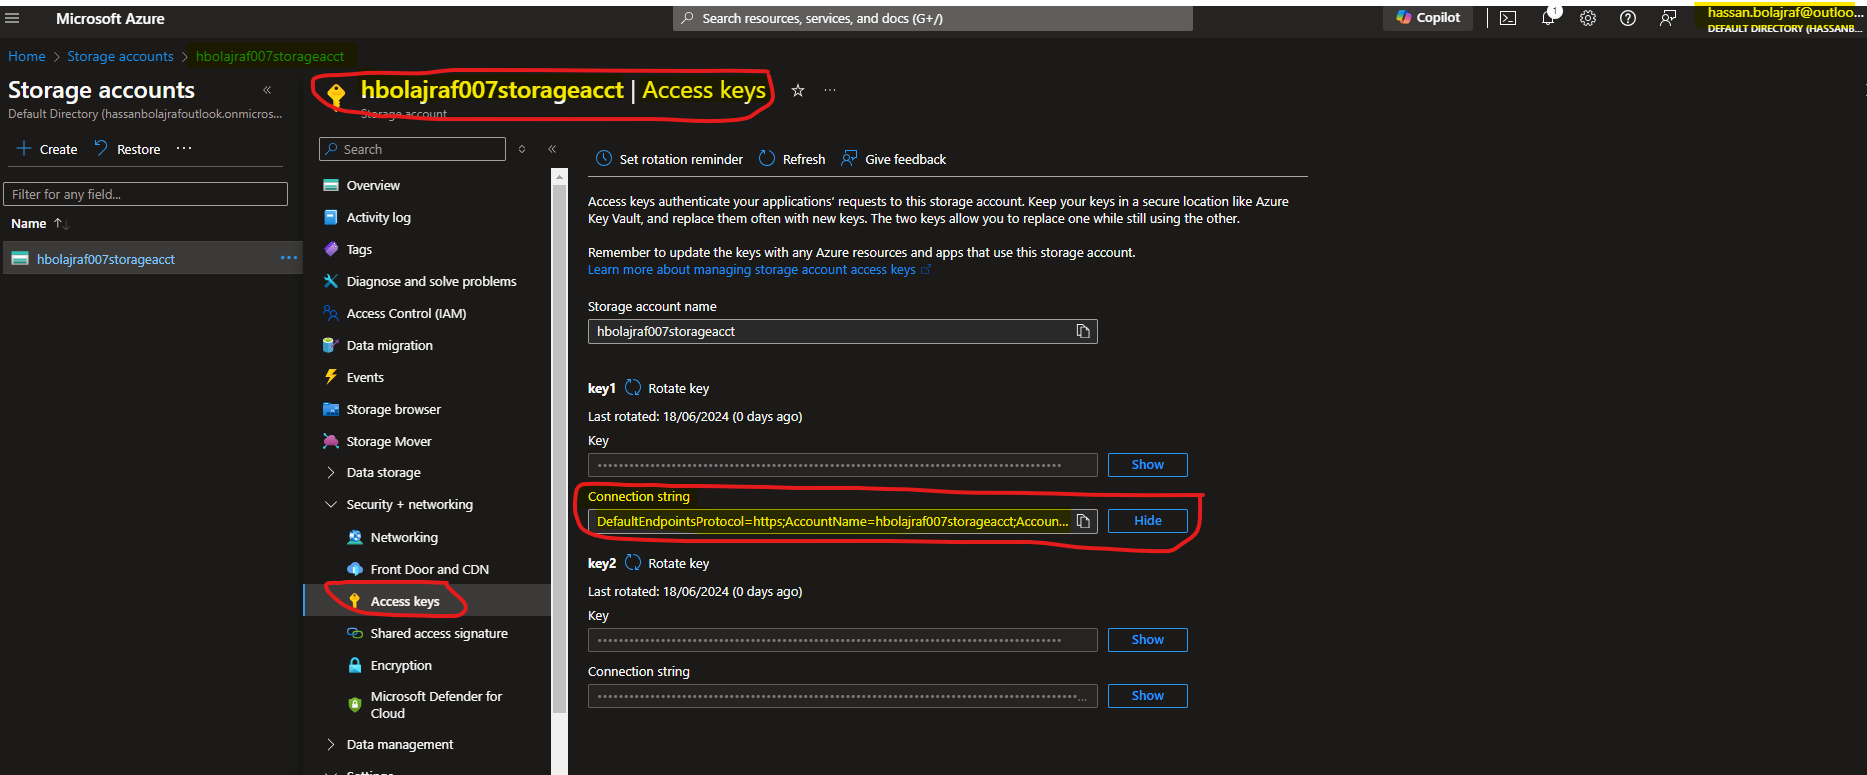
6.2.Create access Keys for storage Account
To create the access Keys for hbolajraf0007storageacct storage Account , follow these steps:
- In the Azure Portal, use the search bar or navigate to find the
hbolajraf0007storageacctStorage Account. - Navigate to
Access keysunderSecurity + networkingfor your Storage Account. - In the
Access keyssection, you should see twoConnection stringlisted under the each section :key1andkey2. These are theConnection stringthat you will use within the C# project in order to connect to your Storage Account.
What Next ?
By leveraging Azure Event Hub’s pub/sub architecture, you can create a scalable and reliable real-time financial transaction monitoring system. This example demonstrated how to set up the necessary components, implement the producer and consumer in C#, and deploy them to Azure. With this setup, banks can effectively monitor transactions in real time, enhancing their ability to detect and respond to fraudulent activities.