Azure | Azure API Management

Azure API Management
Azure API Management is a comprehensive solution for publishing, managing, securing, and analyzing APIs. It allows organizations to expose their services as APIs to internal and external developers, making it easier to consume and manage APIs efficiently. In this guide, we will explore the key concepts of Azure API Management along with examples.
Key Concepts
1. APIs :
APIs represent the services that you want to expose, whether they are web services, functions, or other endpoints.
2. API Products :
API Products group APIs and define their usage policies. For example, you can create a “Basic” product with limited access and a “Premium” product with more features.
3. Operations :
Operations define how to interact with an API, including HTTP methods (GET, POST, etc.) and request/response transformations.
4. Policies :
Policies are rules applied to APIs or operations. They can include rate limiting, authentication, caching, and more.
5. Developer Portal :
Azure API Management provides a developer portal where developers can discover and test your APIs.
Getting Started
-
Create an Azure API Management Service: In the Azure Portal, create an API Management service.
-
Import or Create APIs: You can import APIs from existing services or create a new API within Azure API Management.
-
Configure API Products: Define API products with usage policies, like rate limits or subscription requirements.
-
Secure Your APIs: Implement authentication and authorization policies to secure your APIs.
Creating an API
Let’s create a simple API for weather information.
-
Create an API: In Azure API Management, add a new API and define its backend URL, such as
https://weatherapi.hbolajraf.com. -
Define Operations: Add operations like
GET /weather/{city}to retrieve weather information for a specific city. -
Test in the Developer Portal: Use the developer portal to test the API operations.
Securing an API
To secure your API, you can require an API key or OAuth token.
-
Authentication: Configure policies to require API keys for access. You can generate API keys for developers in your developer portal.
-
OAuth 2.0: If you want to use OAuth 2.0, configure OAuth settings and allow developers to obtain tokens for your API.
Analyzing API Usage
Azure API Management provides analytics and monitoring capabilities.
-
Analytics: Monitor API usage, error rates, and response times through Azure Monitor.
-
Reports: Access detailed reports on API traffic and usage patterns.
-
Alerts: Set up alerts to be notified when unusual activity occurs.
Use case example
In this example, we will demonstrate how to consume an API hosted in Azure API Management from a C# application.
Prerequisites
- Azure API Management instance set up with an API.
- Visual Studio or any C# development environment.
- Azure SDK for .NET installed.
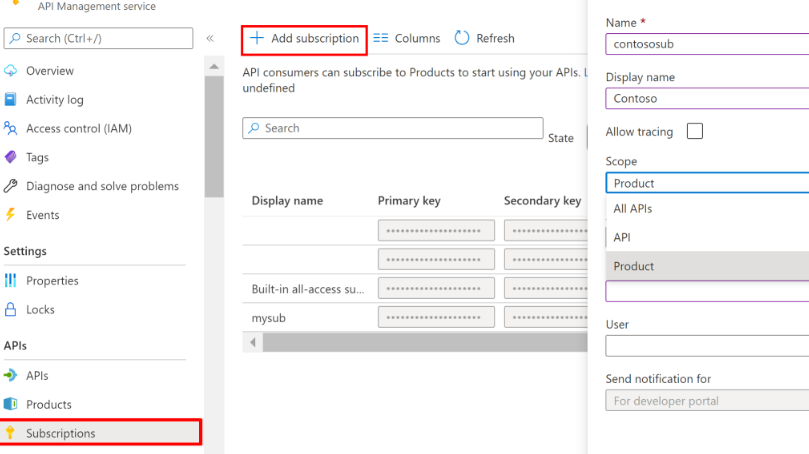
Step 1: Obtain API Management Subscription Key
Before you can call an API in Azure API Management, you need to obtain a subscription key. Here’s how:
-
In the Azure Portal, navigate to your API Management instance.
-
Under the “APIs” section, select the API you want to access.
-
In the API’s settings, go to the “Security” tab.
-
Generate a new subscription key or use an existing one.
Step 2: Create a C# Console Application
Create a new C# console application in your development environment.
Step 3: Install Required Packages
In your C# project, install the Microsoft.Azure.Management.ApiManagement and Microsoft.Azure.Management.ApiManagement.Fluent NuGet packages. These packages allow you to interact with Azure API Management.
1
2
Install-Package Microsoft.Azure.Management.ApiManagement
Install-Package Microsoft.Azure.Management.ApiManagement.Fluent
Step 4: Write C# Code to Consume the API
Here is a sample C# code that demonstrates how to consume the weather API from Azure API Management using the subscription key obtained in Step 1:
1
2
3
4
5
6
7
8
9
10
11
12
13
14
15
16
17
18
19
20
21
22
23
24
25
26
27
28
29
30
31
32
33
34
35
36
37
38
39
40
41
42
43
44
45
46
47
48
49
50
51
52
53
54
using Microsoft.Azure.Management.ApiManagement;
using Microsoft.Azure.Management.ApiManagement.Models;
using Microsoft.Azure.Management.Fluent;
using Microsoft.Azure.Management.ResourceManager.Fluent;
using Microsoft.Azure.Services.AppAuthentication;
using Microsoft.Rest.Azure.Authentication;
using System;

class Program
{
    static async System.Threading.Tasks.Task Main(string[] args)
    {
        string clientId = "your-client-id";
        string clientSecret = "your-client-secret";
        string tenantId = "your-tenant-id";
        string subscriptionId = "your-subscription-id";
        string resourceGroupName = "your-resource-group";
        string serviceName = "your-api-management-service";
        string apiKey = "your-subscription-key";

        var serviceClientCredentials = ApplicationTokenProvider.LoginSilentAsync(
            tenantId, clientId, clientSecret).Result;

        var azure = Azure.Authenticate(serviceClientCredentials).WithSubscription(subscriptionId);

        var apiManagementClient = new ApiManagementClient(serviceClientCredentials)
        {
            SubscriptionId = subscriptionId
        };

        var apiManagement = await azure.ApiManagementServices.GetByResourceGroupAsync(resourceGroupName, serviceName);

        var baseUri = $"https://weatherapi.hbolajraf.com";
        var operationResponse = await apiManagementClient.HttpOperations.ListByServiceAsync(resourceGroupName, serviceName);

        if (operationResponse != null)
        {
            var operation = operationResponse.First();
            var request = new HttpRequestMessage
            {
                Method = HttpMethod.Get,
                RequestUri = new Uri(new Uri(baseUri), operation.UrlTemplate),
            };

            request.Headers.Add("Ocp-Apim-Subscription-Key", apiKey);

            using (var response = await httpClient.SendAsync(request))
            {
                var content = await response.Content.ReadAsStringAsync();
                Console.WriteLine($"Response: {content}");
            }
        }
    }
}
Replace the placeholders ( your-client-id, your-client-secret, your-tenant-id, your-subscription-id, etc.) with your actual Azure and API Management service details.
Step 5: Run the C# Application
Build and run your C# application. It will call the API hosted in Azure API Management using the subscription key and display the response.
What Next?
Azure API Management simplifies the process of publishing, managing, and securing APIs. It offers a developer-friendly experience with the developer portal and extensive analytics to help you make data-driven decisions about your APIs. The Use Case example demonstrates how to consume an API in Azure API Management using a C# application. You can adapt this code to fit your specific use case and integrate it into your applications as needed.